Textiles 1 — A Creative Approach — Assignment 1
student name: Kathleen (Kath) O’Donnell
student number: 511607
Assignment 1 — Reflective Commentary
(based on assessment criteria points)
also available as a downloadable PDF file — 77Kb, 2 pages
Demonstration of Technical and Visual Skills materials, techniques, observational skills, visual awareness, design and compositional skills
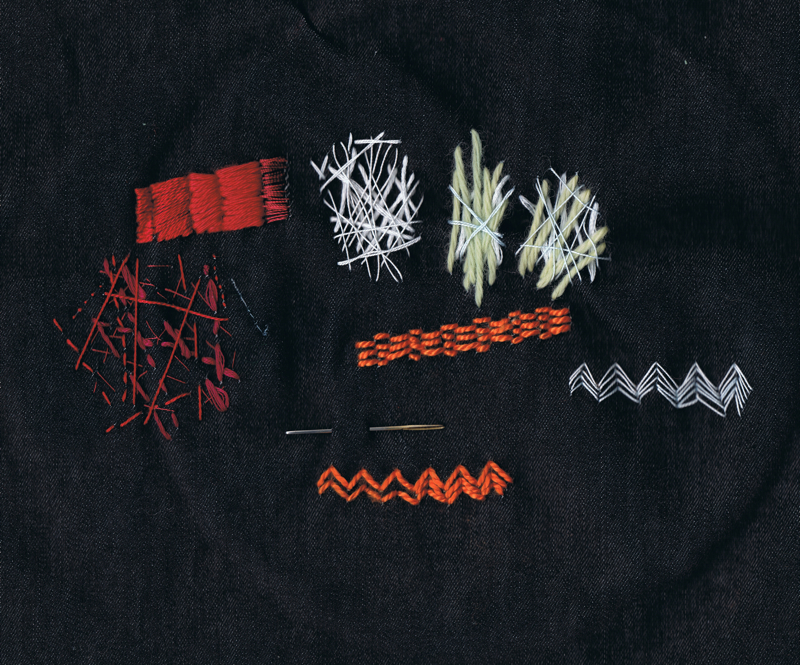
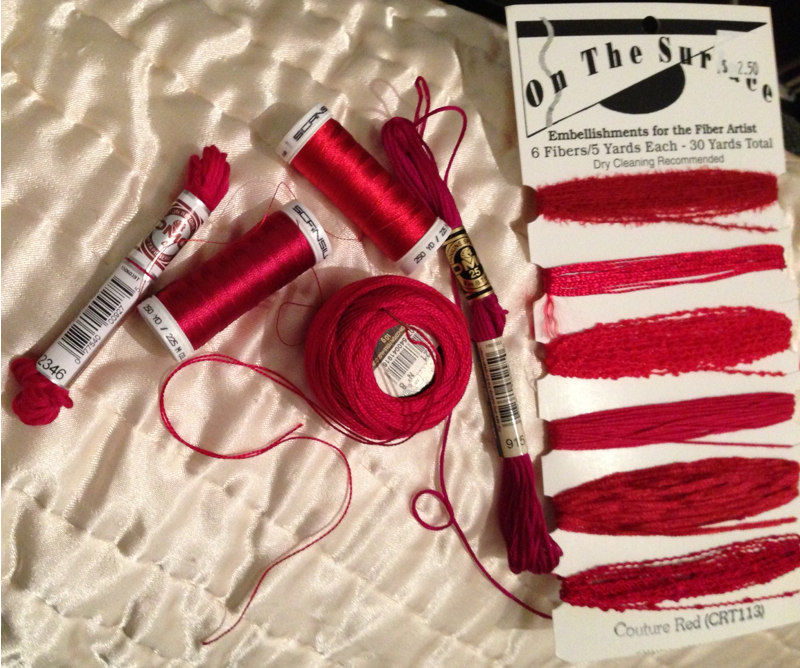
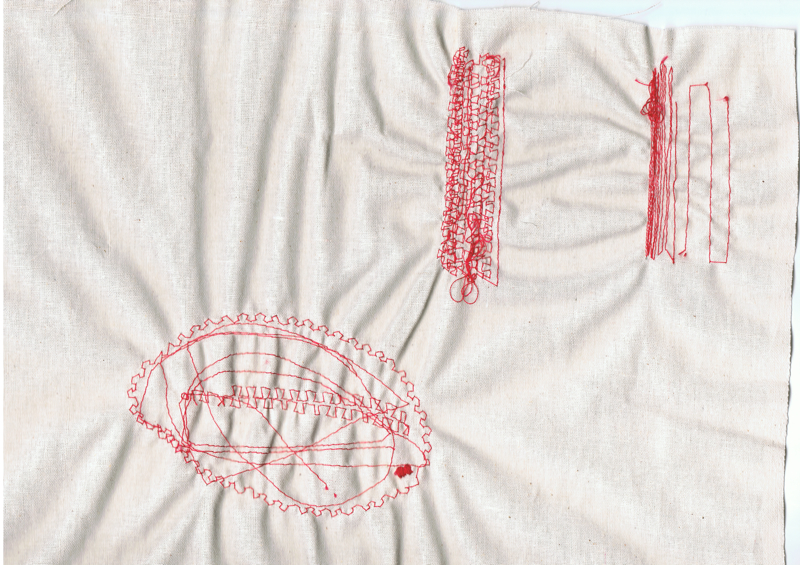
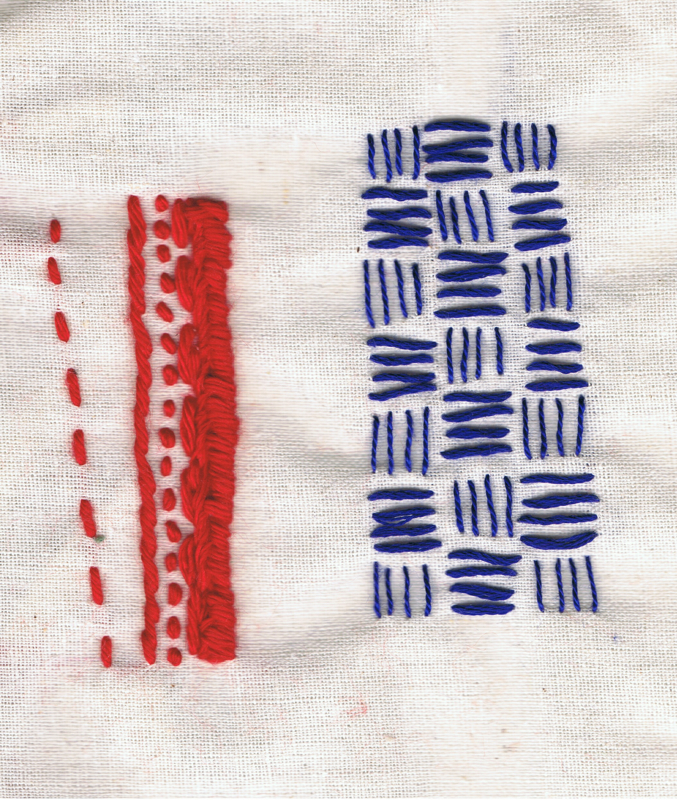
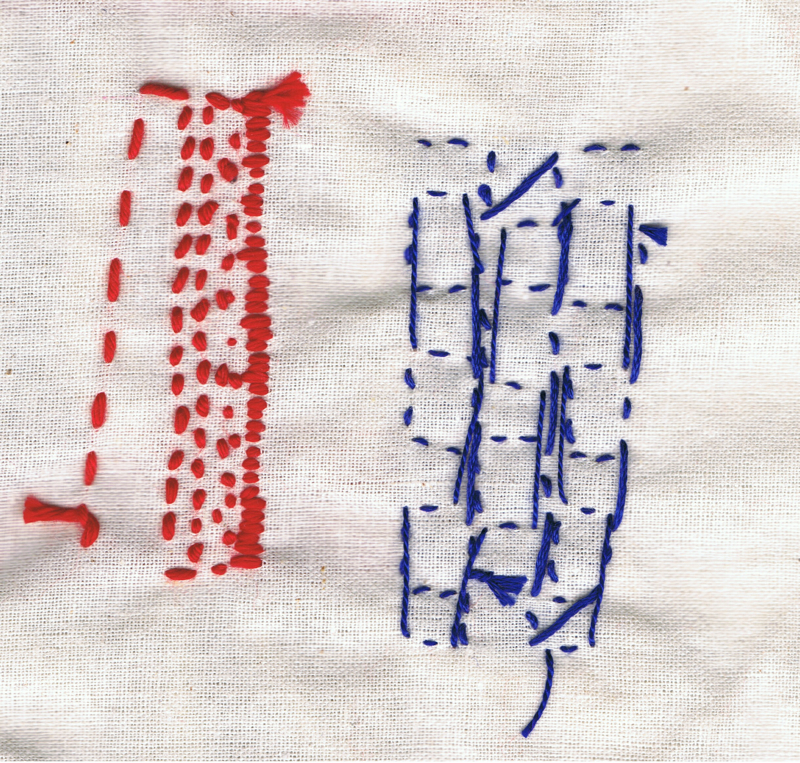
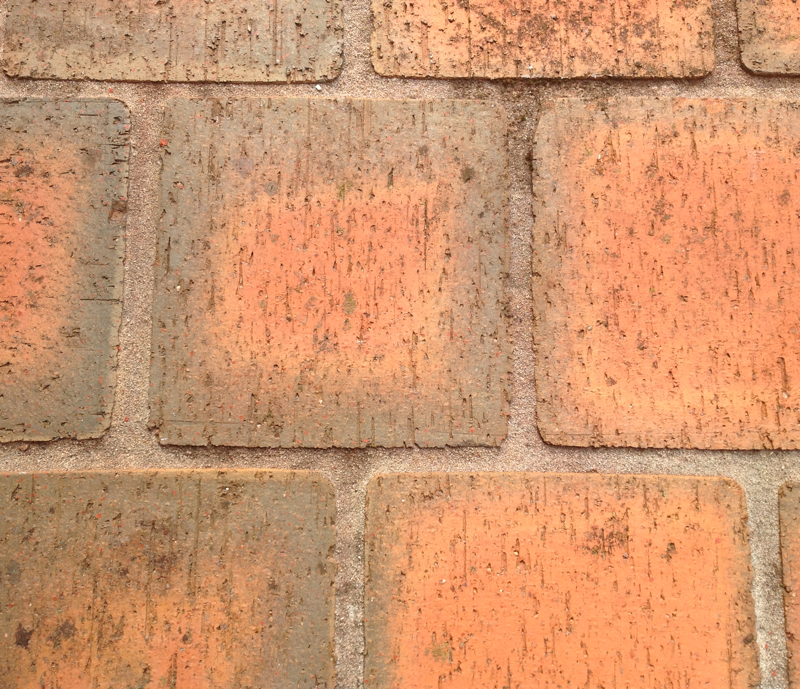
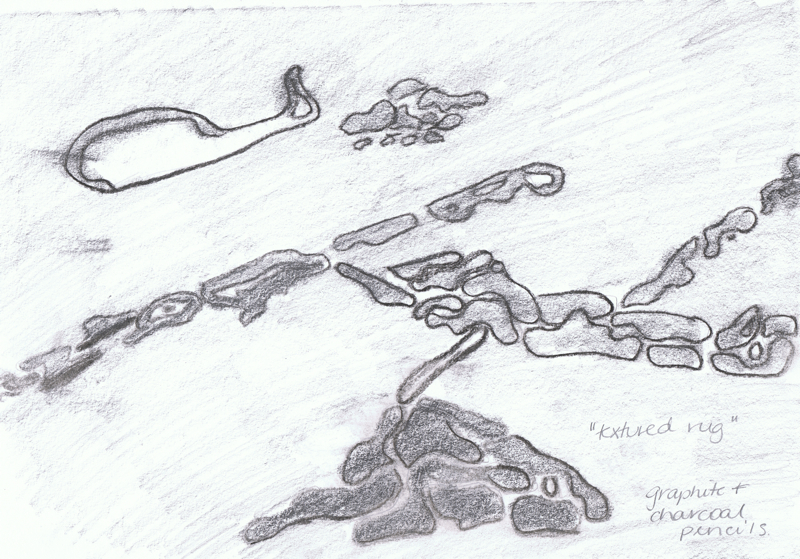
Whilst working on the class exercises, I learnt many new techniques, including mark-making with various materials, hand embroidery stitches and how to do machine embroidery. I began to see patterns and marks whilst I walked around the city, and began to see shapes that could look interesting when stitched. Once I learnt a few embroidery stitches, I began to see them everywhere in the streets, in my hotel rooms and in in ordinary, pataphysical objects. I’m still working on my sketching, as I still don’t feel as confident doing this, but I enjoy taking photographs of different patterns instead. The class exercises did help in “freeing up” my drawing skills and ways of thinking.
Quality of Outcome content, application of knowledge, presentation of work in a coherent manner, discernment, conceptualisation of thoughts, communication of ideas
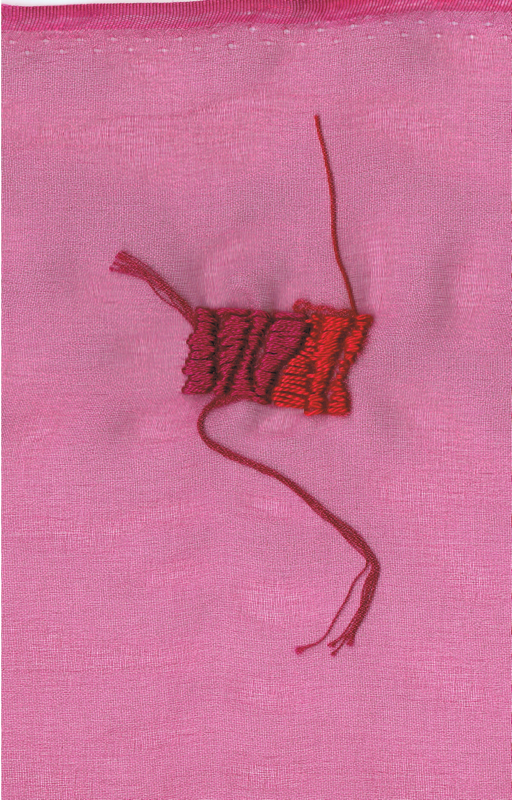
I am happy with how some of the embroidery / stitching mark making exercises turned out, and the one’s I don’t think are very good I am treating as practice exercises in freeing up my thinking and work leading up to the final samples. In a couple of the exercises I couldn’t stop at the sample — I had to finish a piece as I wanted to see how it would look and if I could manage to translate the image in my head into a finished piece. I think I need to practice presentation of the work on my blog — in most cases I posted photographs or scans of them and often they are too large for the page, and there is little text describing them. I feel I need to work more on writing descriptions of the work and techniques.
Demonstration of Creativity imagination, experimentation, invention, development of a personal voice
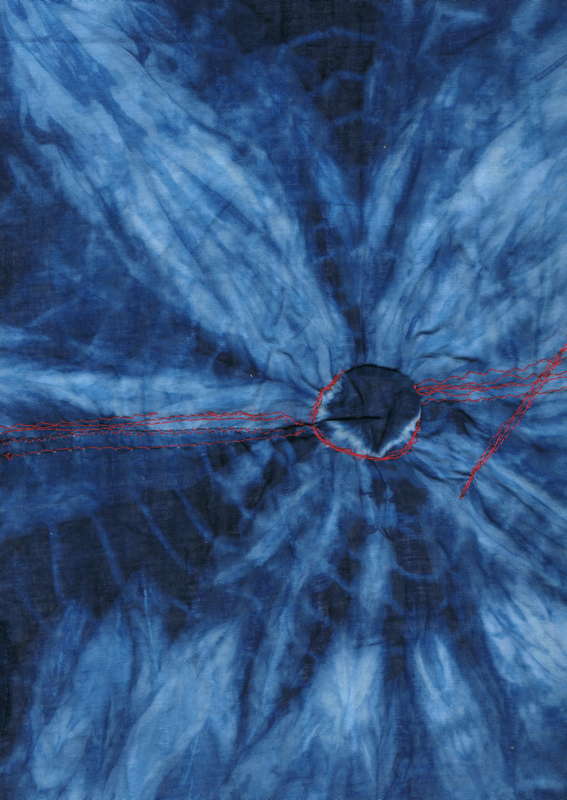
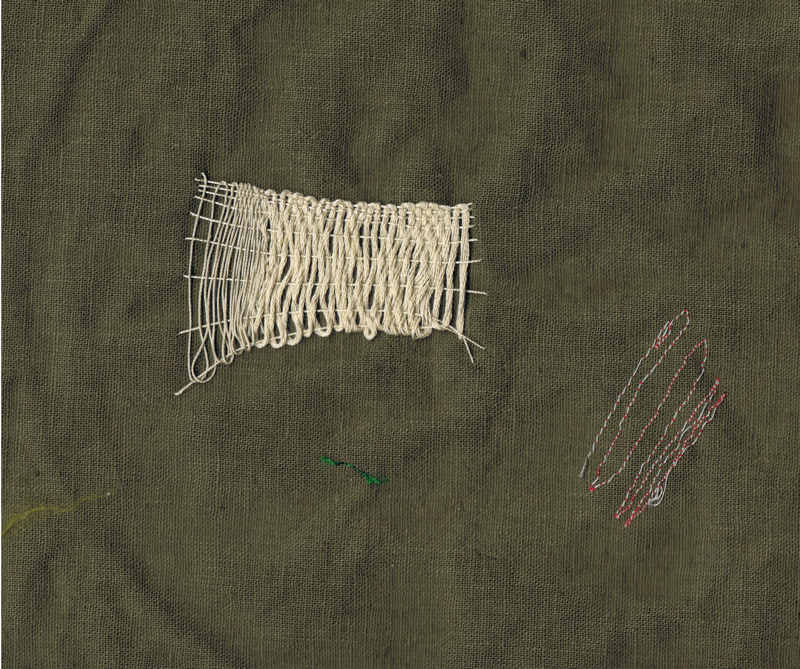
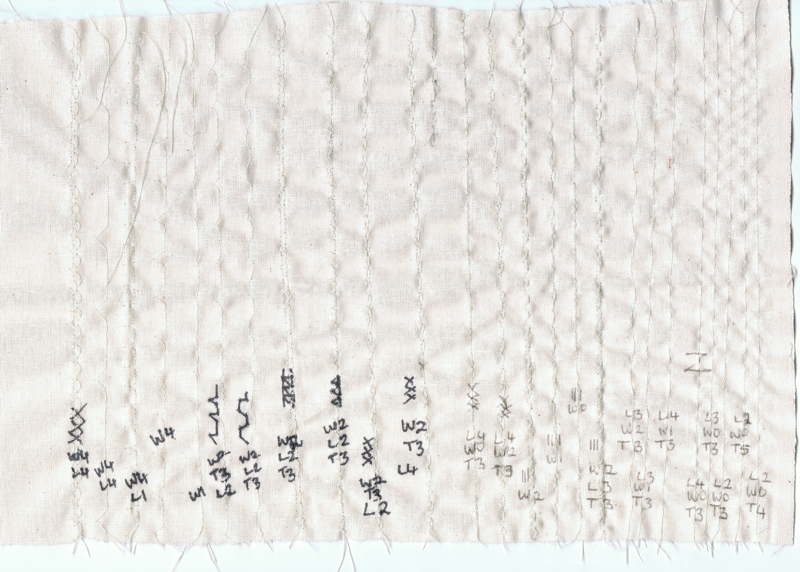
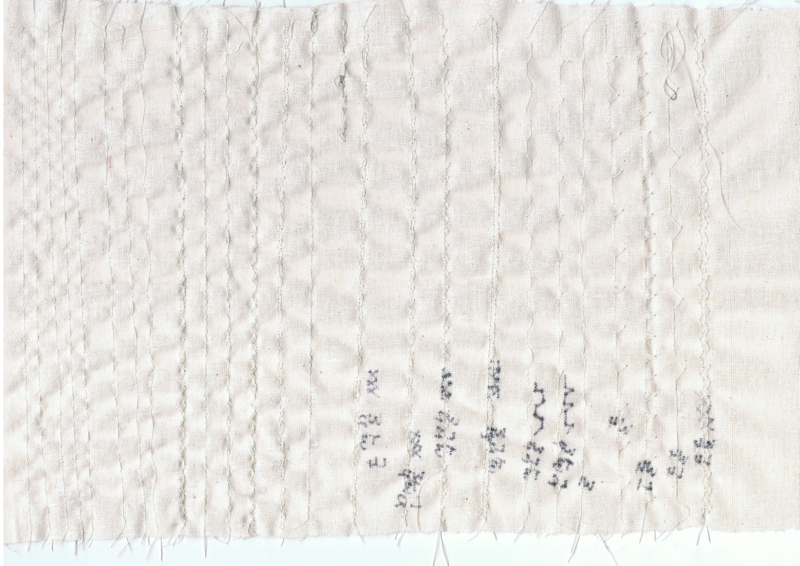
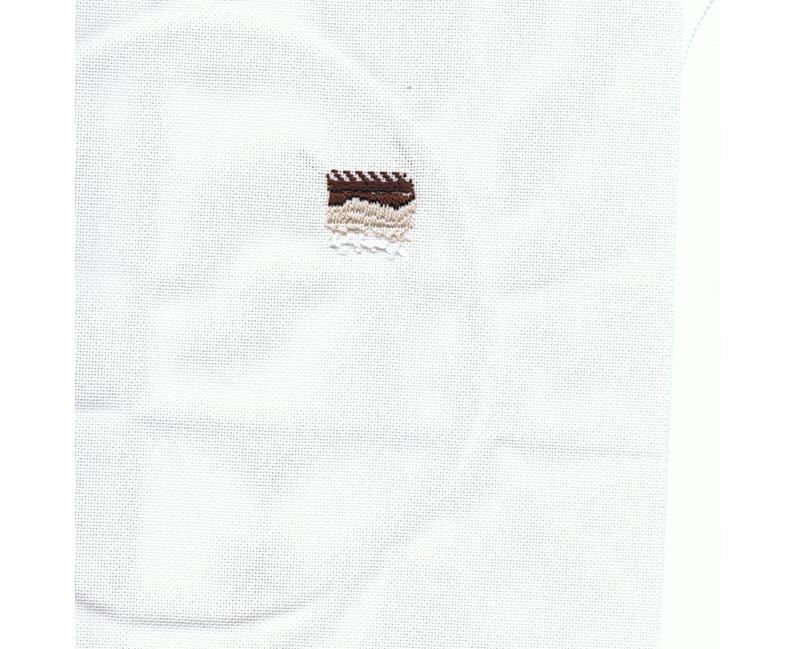
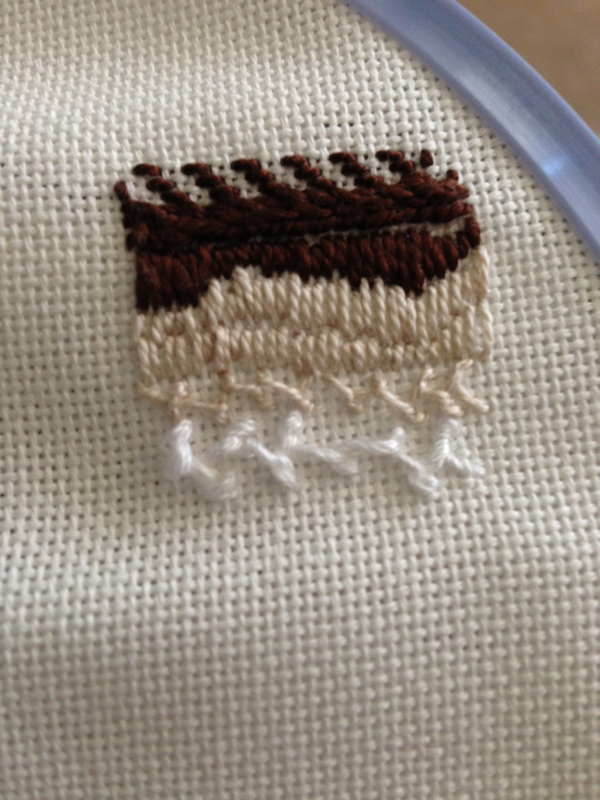
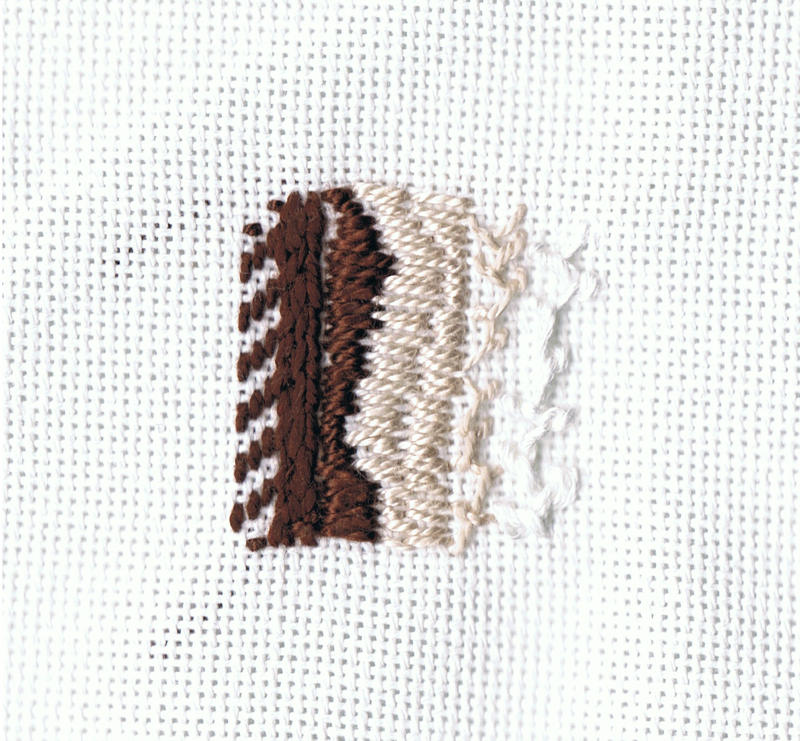
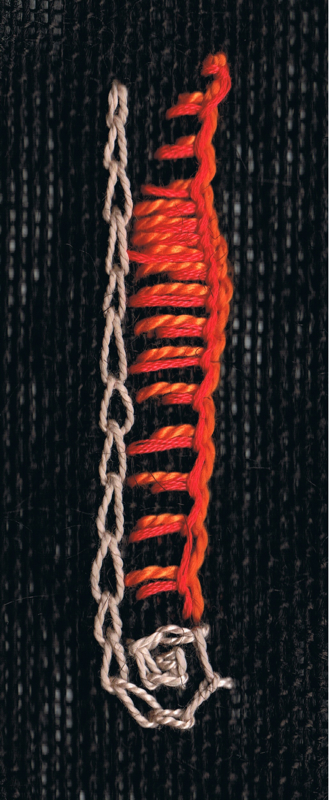
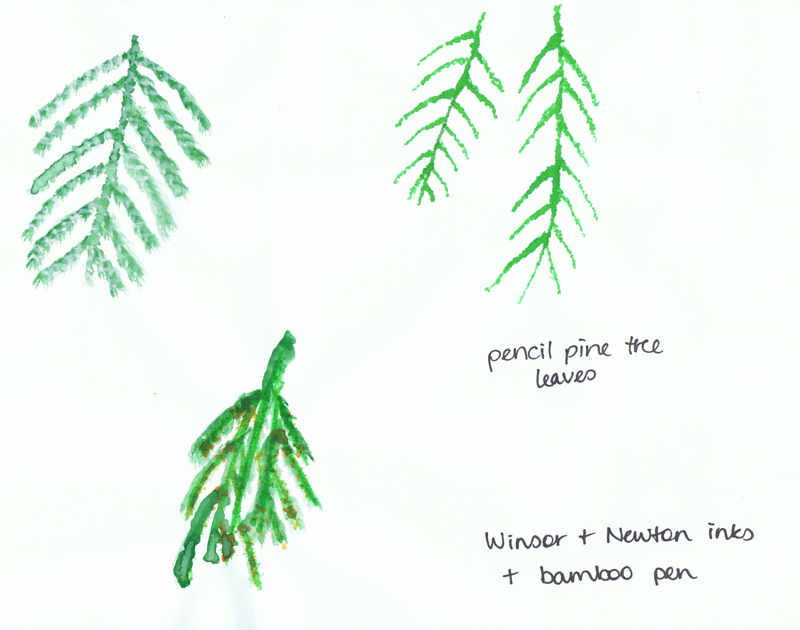
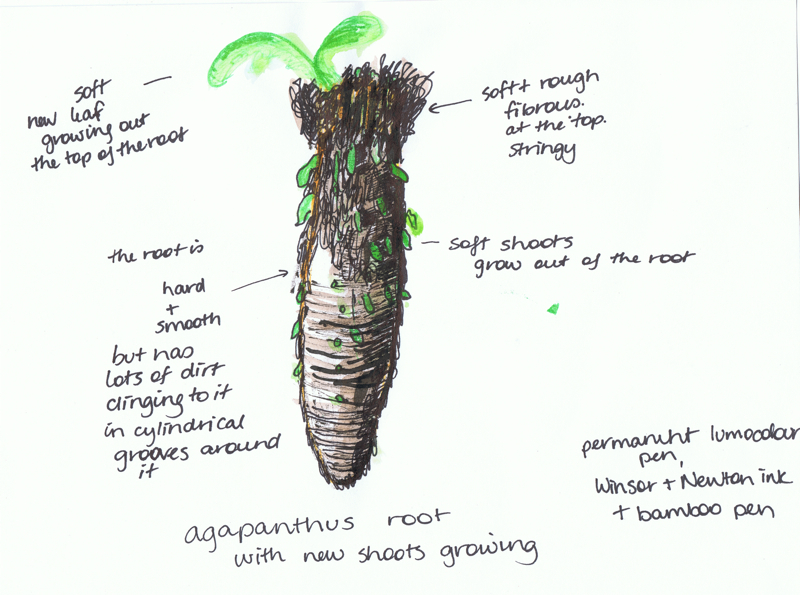
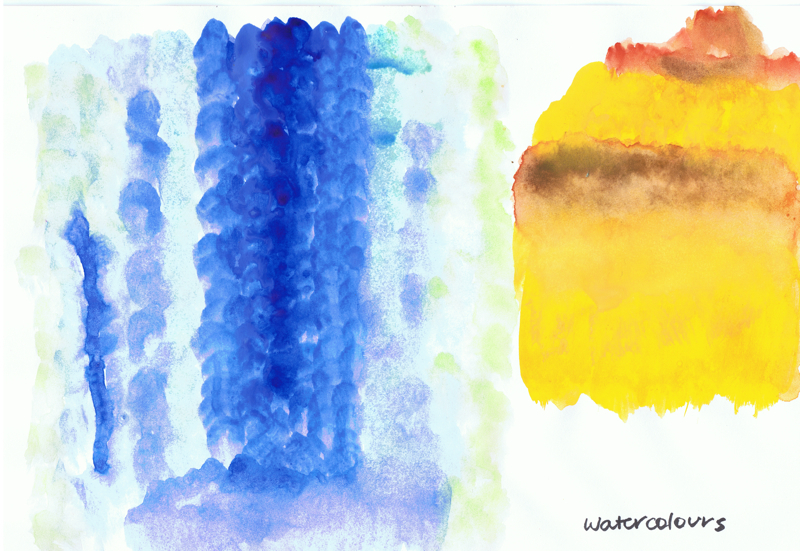
I tried to experiment with some of the mark-making techniques in the exercises using paints, paper, and threads and stitches. I was following the guidelines of the exercises and some of the books and websites I’d visited, but these did lead to some experimentation that I thought of myself, such as the final embroidery exercises where I experimented with circles and stitches to create small art-samples.
Context reflection, research, critical thinking (learning log)
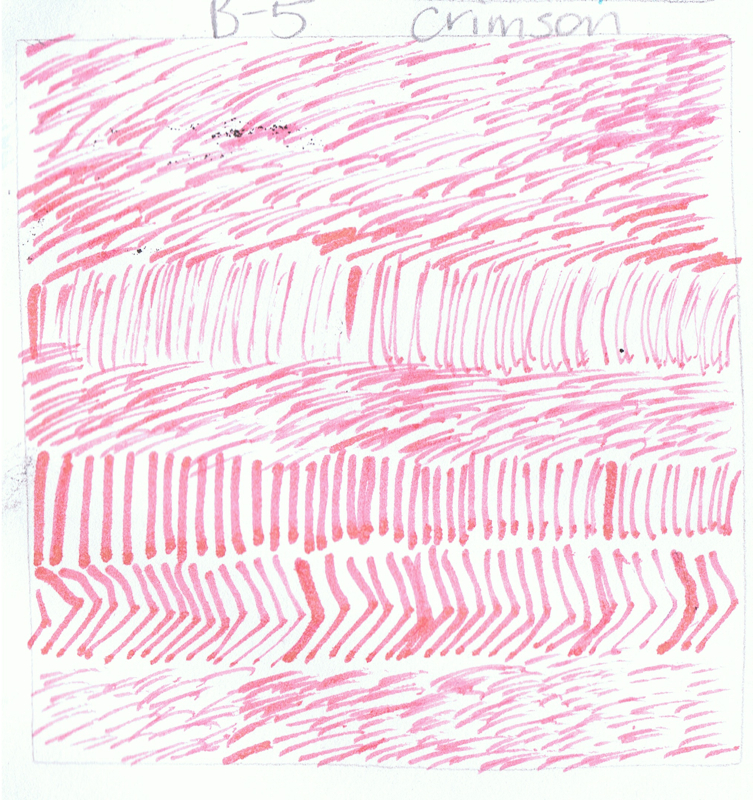
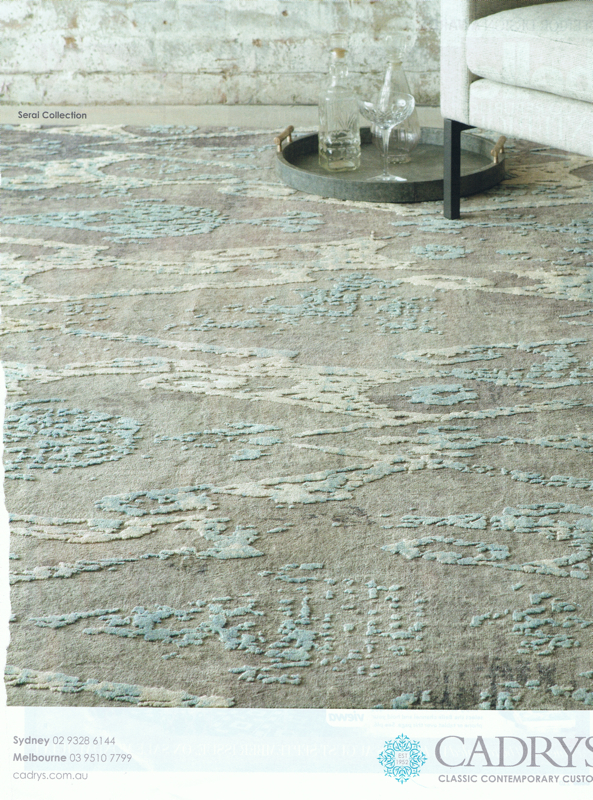
I enjoyed researching different artists and noticing the strokes in their paintings, such as the short lines that make up lines and swirls in Van Gogh’s Night Paintings series. Also I read about some of the female artists from the Bauhaus Weaving Workshop and some of Paul Klee’s work from the late 1930s – early 10490s which I think would be able to be represented in stitch as there are very pronounced lines and shapes attuned to stitches and blocks of colour in the background that could be represented by swatches of fabric layers. More recent embroidery artists I read about include Sue Stone, Junko Oki, Audrey Walker of the 62 Group in the UK. Once again, I feel I need to work more on writing up my ideas after reading about other artists’ work so I can note what catches my eye about their work.
Sketchbook
Sketchbook — downloadable PDF version (up until November 2013 – 35Mb – 50 pages)
Class exercises
here are a couple of ways to view my class exercises:
1. View or Download PDF File of all my class exercises (blog pages) : Assignment1 – class exercises and blog sample work — downloadable PDF file (PDF file ::: 9Mb ::: 113 pages)
or
2. View directly on my blog via the following links:
Project 1 — Making marks
Stage 2 — Making marks in an expressive way
Exercise 1
Stage 3 — Using marks to create surface textures
Exercise 1
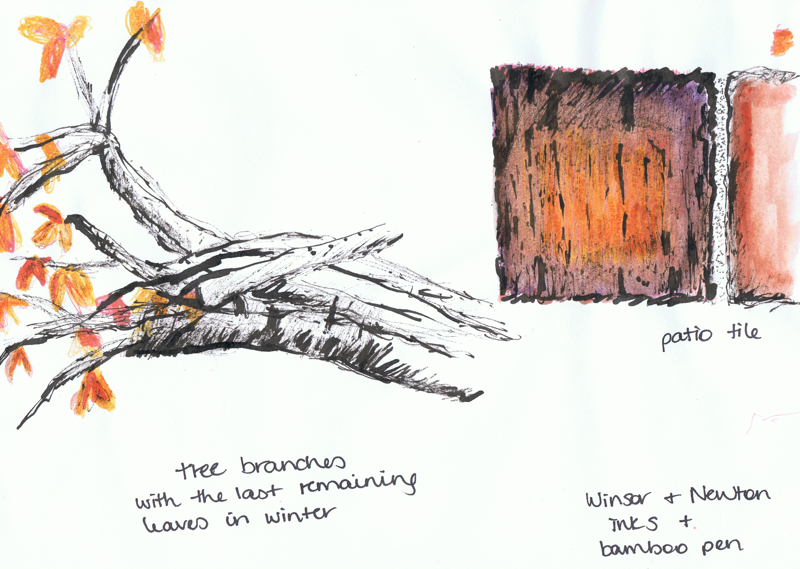
Stage 4 — Working from your sketchbooks
Review
Project 2 — Developing your marks
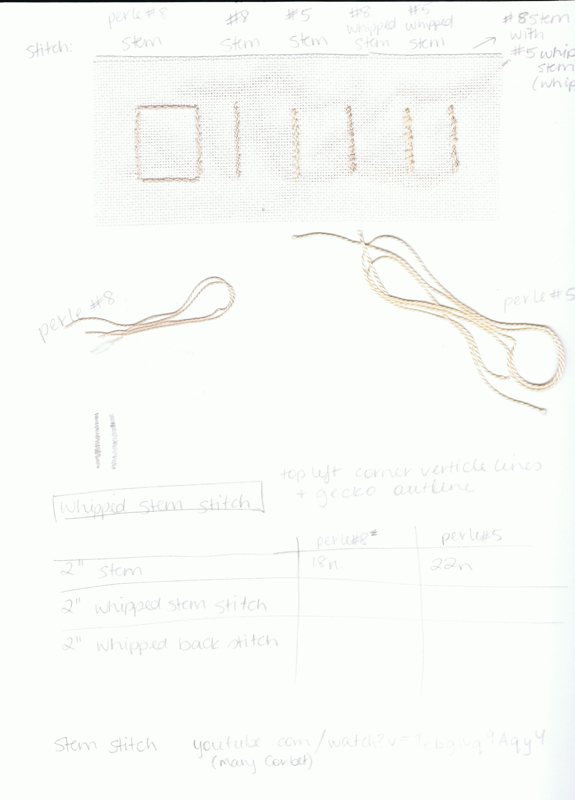
Stage 2 — Exploring marks and lines through stitch techniques
Stage 4 — Preparing to create textures